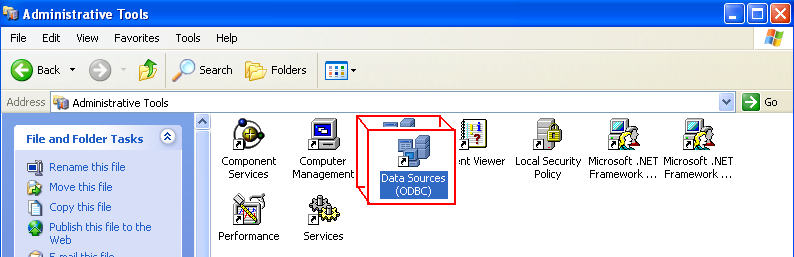
1. Check settings for an ODBC data source, which is usually found under one of the below pathways:
1.1 Start > Programs > Administrative Tools > Data Sources (ODBC), or
1.2 Start > Settings > Control Panel > Data Sources (ODBC).
1.2 Start > Settings > Control Panel > Data Sources (ODBC).
2. Enter the "System DSN" tab:
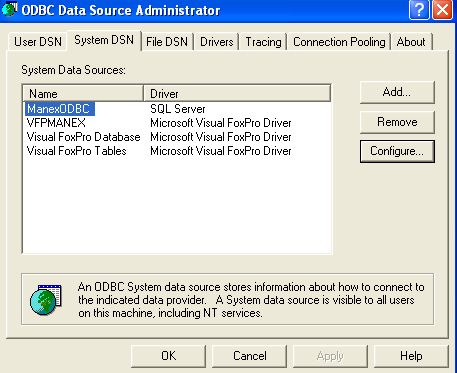
3. Click “Add” and the following screen will appear.
Select the "SQL Driver" and depress the "Finish" button.

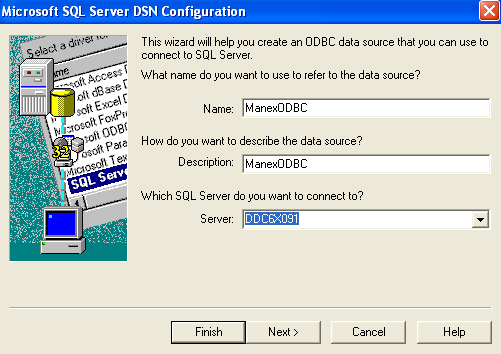
4. Enter a name and description for the data source (example uses “ManexODBC").
4. Enter a name and description for the data source (example uses “ManexODBC").
Next, enter the server name that matches your server and click “Next”
Note: It is important to enter the server name that matches your server.
5. Check the bubble named, "With Windows NT authentication using the network login ID" and the check-box named, "Connect to SQL Server to obtain default settings for the additional configuration options."

6. Press "Next" On the next screen and select the correct default database from the pull-down.
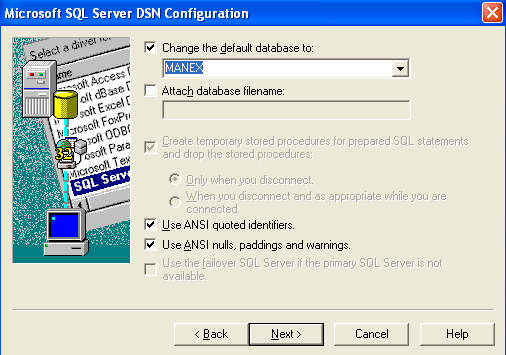
7. Select "Next."
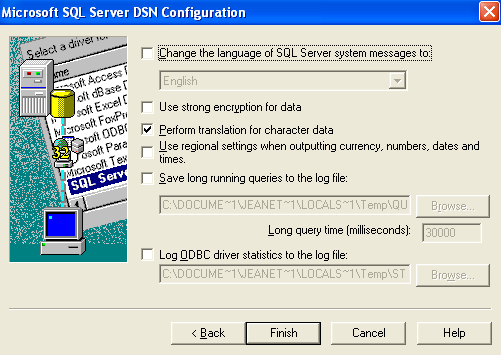
8. Select "Finish" and the following screen will appear:
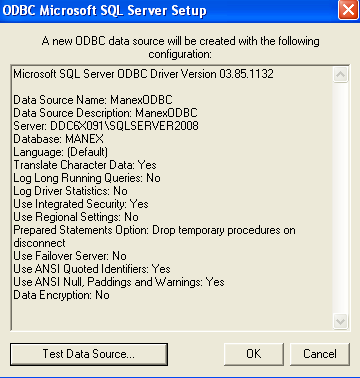
9. Select "OK," and the setup process is complete. The new file should display in the ODBC Data Source Administrator/System DSN.